Configuring OpenTofu
In this section, we’ll walk through the steps to configure OpenTofu to manage a NixOS virtual machine on a Proxmox server, from setting up permissions to writing and applying your infrastructure definitions.
Prerequisites
Section titled “Prerequisites”- Proxmox: Ensure you have a Proxmox server set up and accessible.
- OpenTofu: Install OpenTofu on your local machine. You can follow the installation guide for detailed instructions.
- NixOS ISO: Download the latest minimal NixOS ISO image and upload it to your Proxmox server. See this guide for instructions on how to upload the ISO.
Configuration
Section titled “Configuration”Before starting to write OpenTofu configuration, we need to set up a couple of things in Proxmox to allow OpenTofu to manage your Proxmox resources.
Create the Proxmox user, role and token for OpenTofu
Section titled “Create the Proxmox user, role and token for OpenTofu”To allow OpenTofu to manage your Proxmox resources, you need to create a user and assign it the necessary permissions. Follow these steps:
-
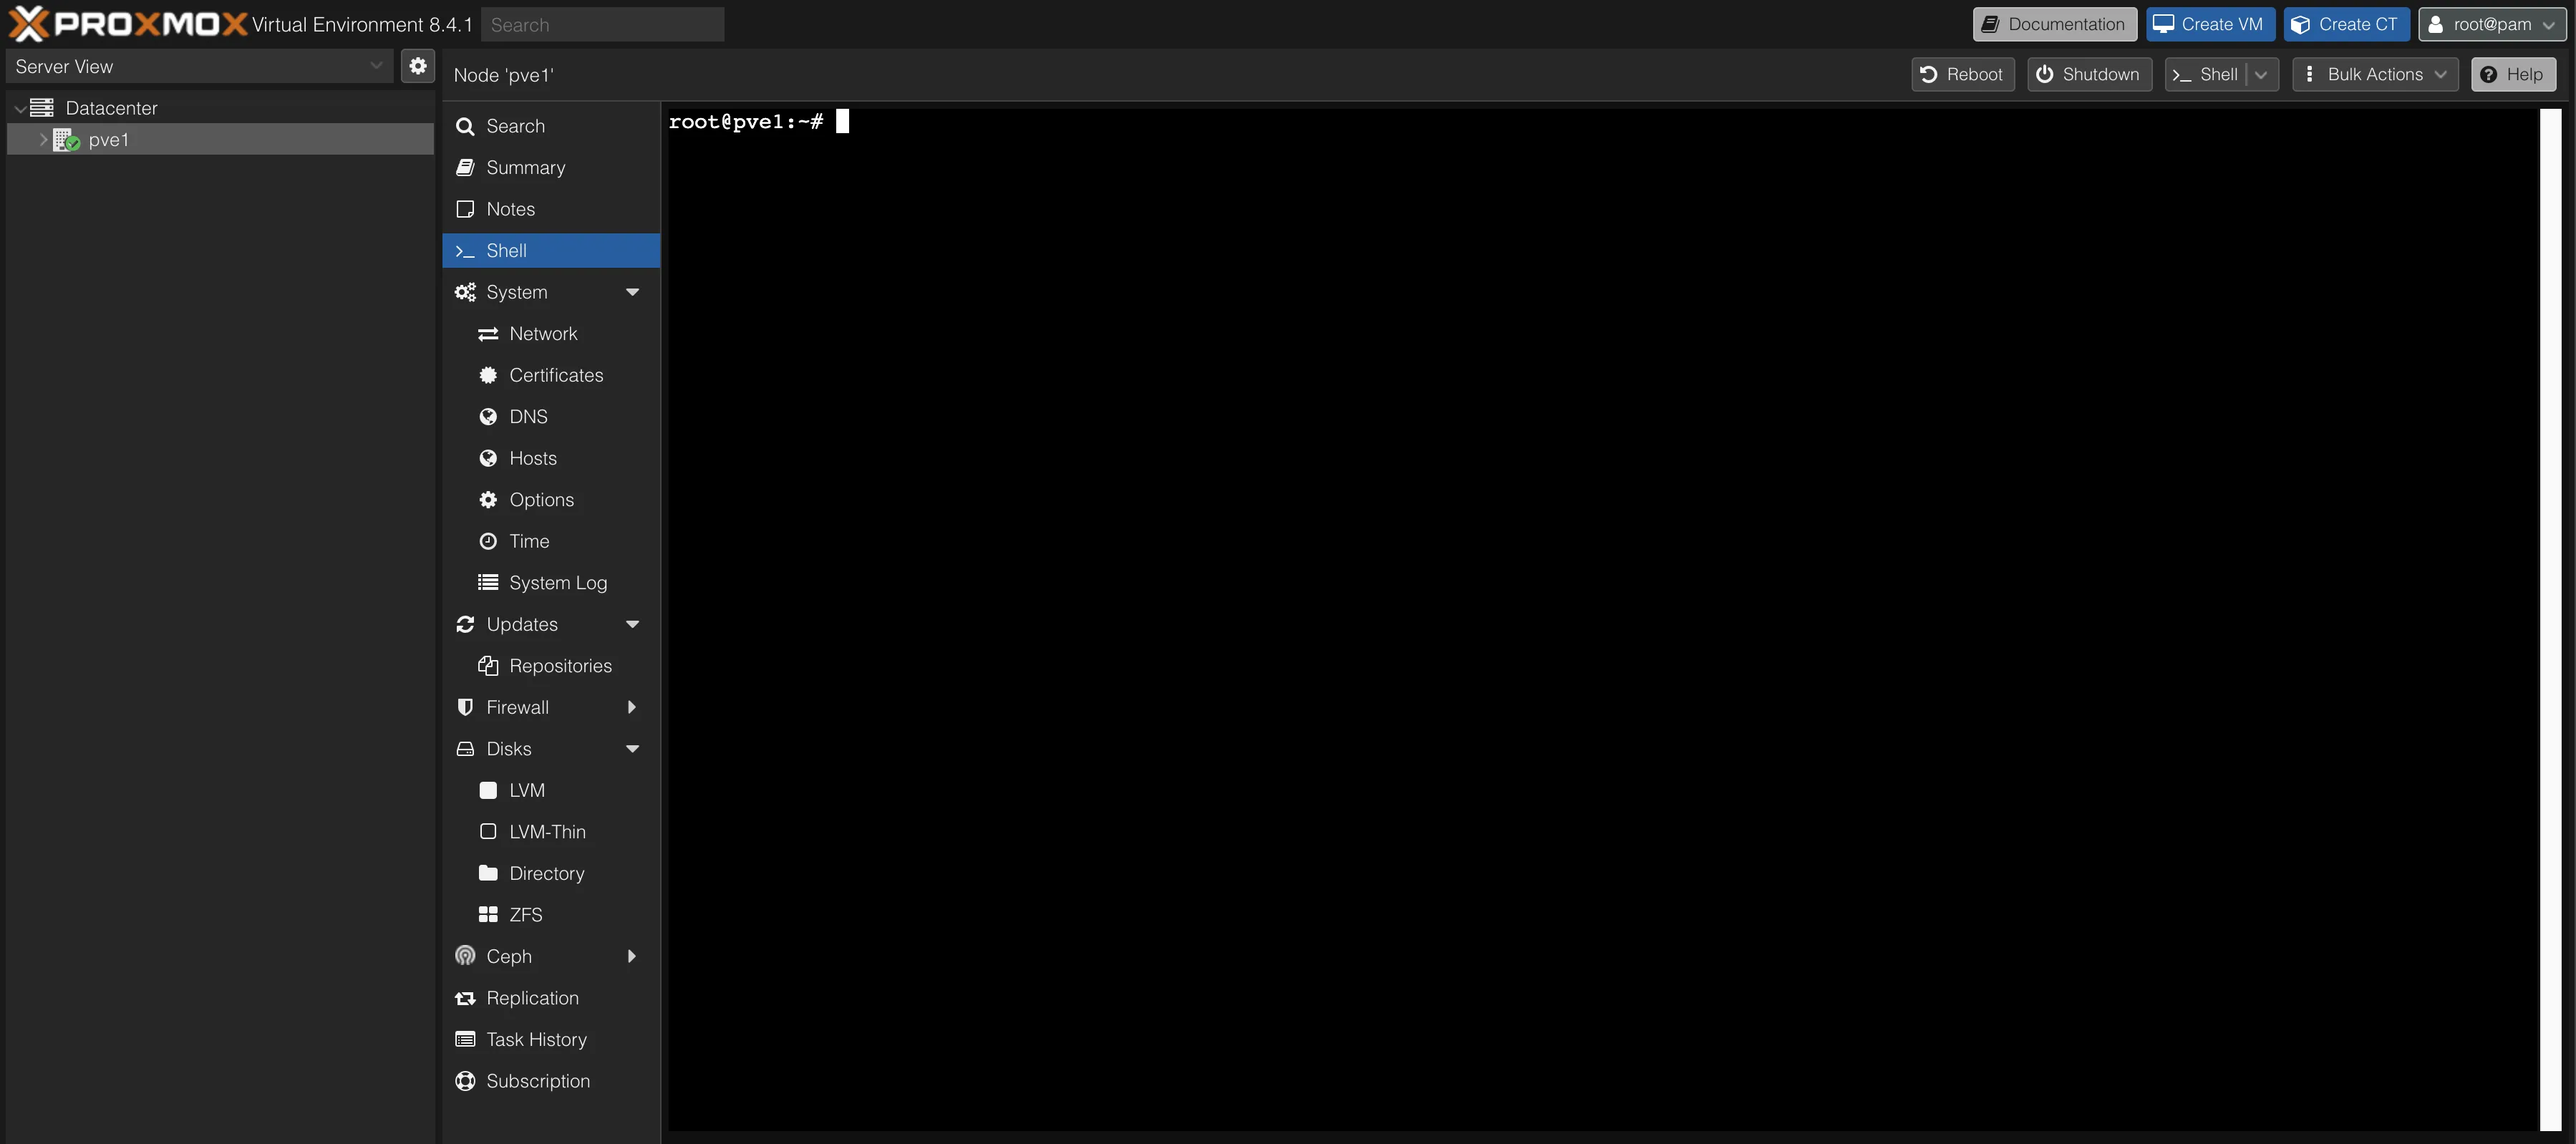
Log in to your Proxmox web interface.
-
Navigate to Datacenter > Node > Shell.
-
Run the following commands to create a new user and assign it a role:
Terminal window pveum role add TerraformProv -privs "Datastore.AllocateSpace Datastore.AllocateTemplate Datastore.Audit Pool.Allocate Sys.Audit Sys.Console Sys.Modify VM.Allocate VM.Audit VM.Clone VM.Config.CDROM VM.Config.Cloudinit VM.Config.CPU VM.Config.Disk VM.Config.HWType VM.Config.Memory VM.Config.Network VM.Config.Options VM.Migrate VM.Monitor VM.PowerMgmt SDN.Use"pveum user add terraform-prov@pve --password <password>pveum aclmod / -user terraform-prov@pve -role TerraformProv -
Create a token for the
terraform-prov@pveuser:Navigate to Datacenter > Permissions > API Tokens and click on Add.
Select the previously created user, assign a name to the token (e.g.,
tofu), and uncheckPrivilege Separation. You may optionally set an expiration date and add a comment.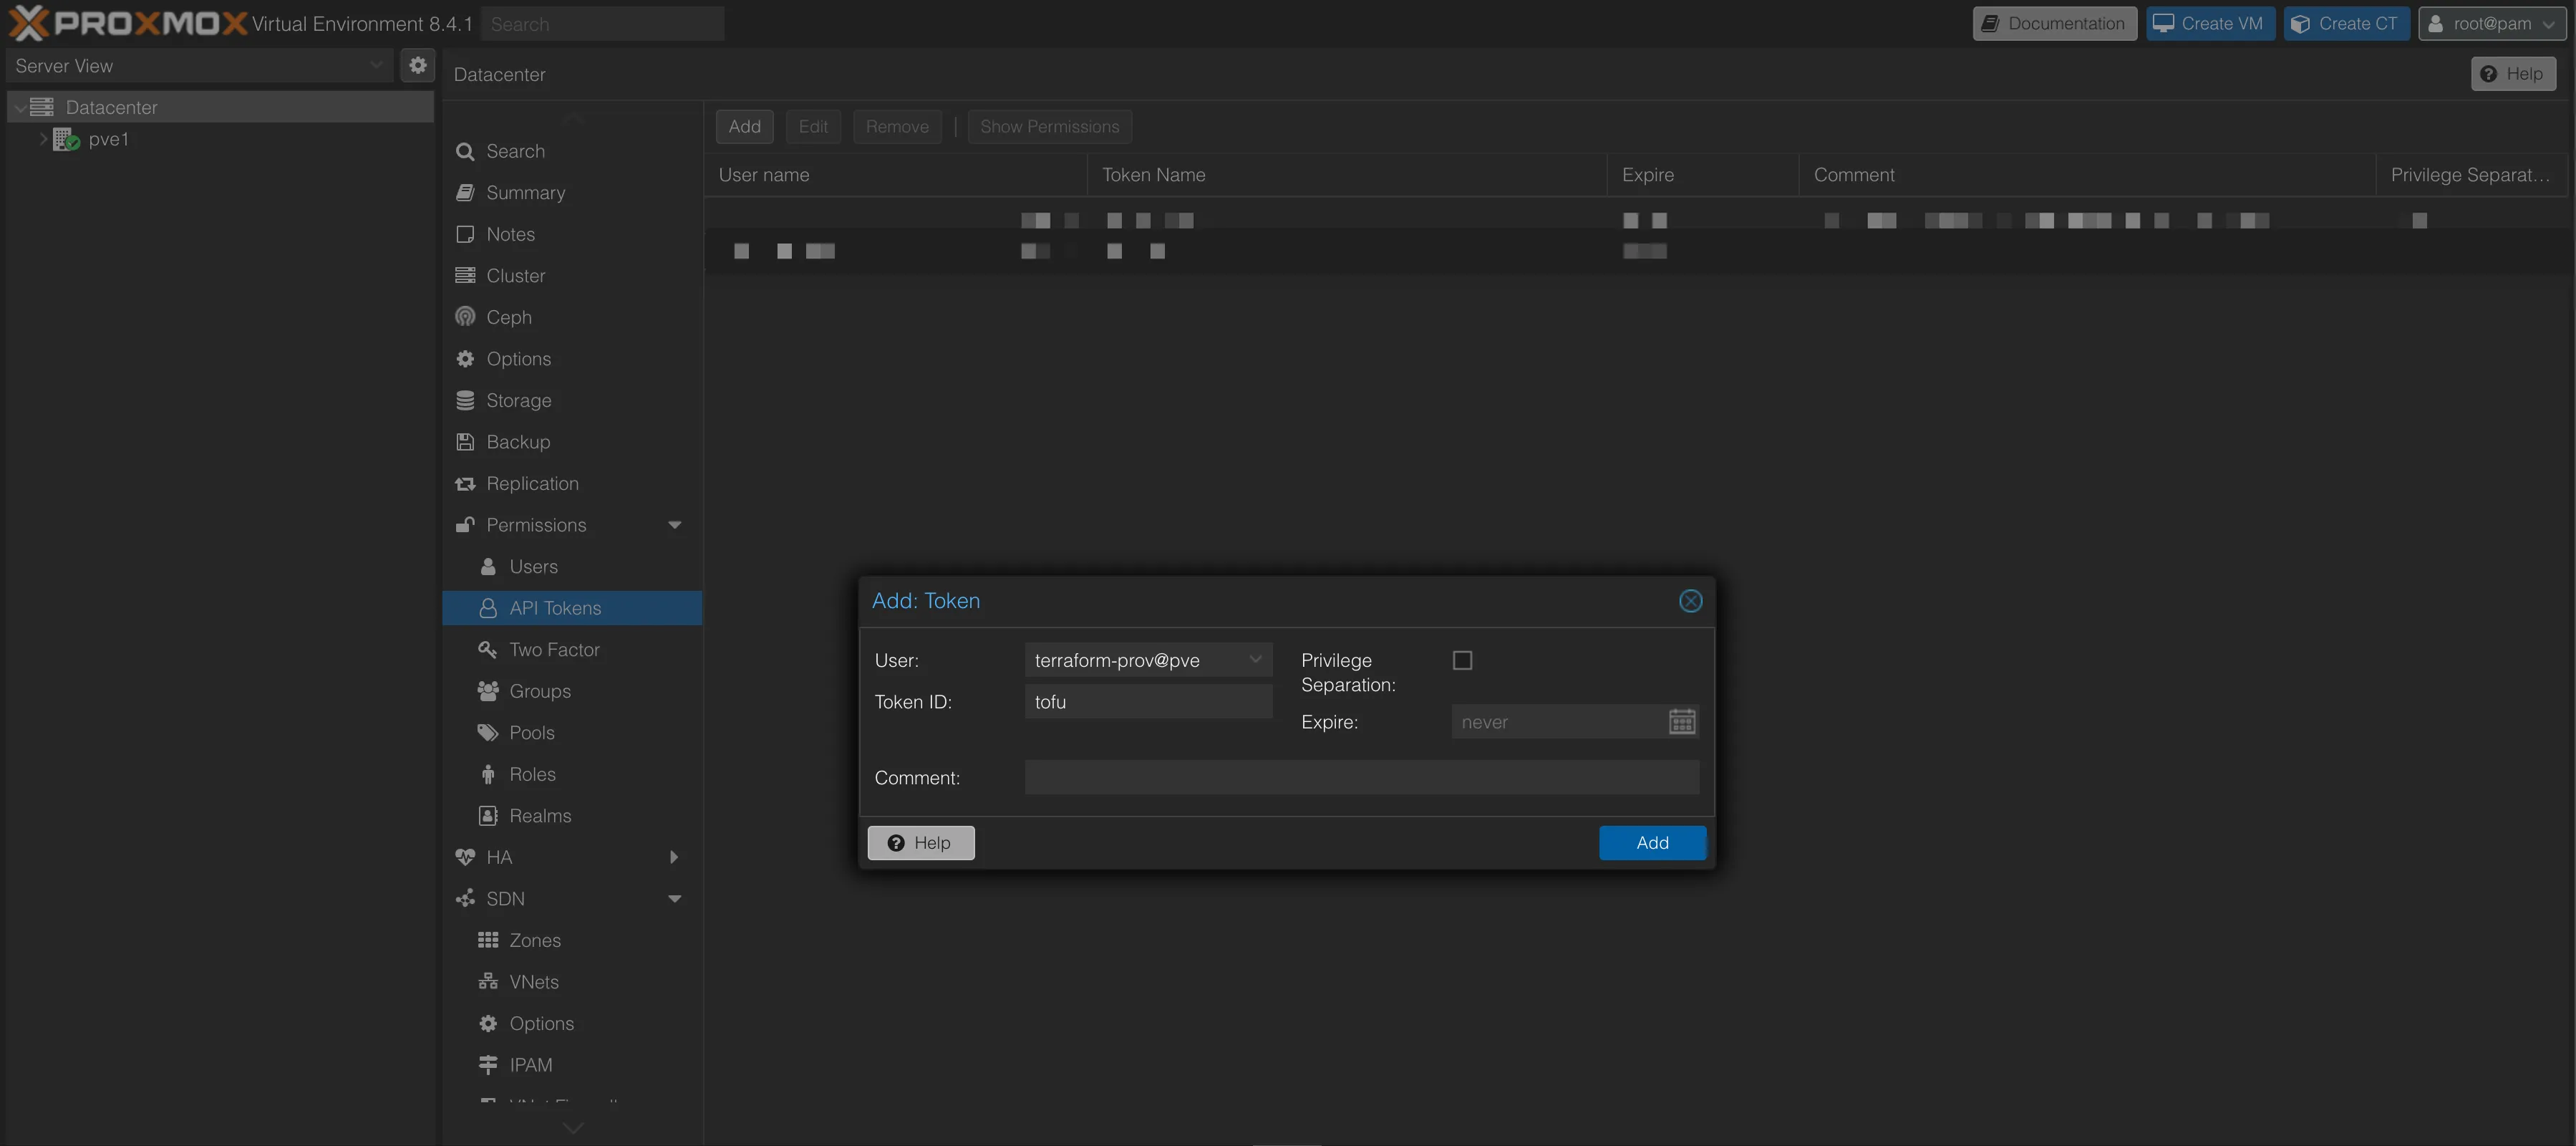
You will receive a token ID and a secret. Save these securely, as you will need them for your OpenTofu configuration.

Create a NixOS VM
Section titled “Create a NixOS VM”To simplify the process of managing the NixOS VM, we will first create a basic NixOS VM using the Proxmox web interface. This VM will serve as a template for our OpenTofu configuration.
-
In the Proxmox web interface, on the top right corner, click on Create VM.
-
Fill in the following details (you can adjust as needed) and leave the rest as default:
Tab Setting Value Notes General Name nixos-vmSet a name for the VM OS ISO Image NixOS ISO Select the NixOS ISO you uploaded earlier System Qemu Agent ✓ Selected Enable Qemu Agent System Machine q35Modern chipset with PCIe support Disks Disk Size 128GSet the disk size CPU Cores 4Set the number of CPU cores Memory Memory (MiB) 6144Set the memory size Network Model VirtIOUse VirtIO for better performance You should see a summary of your VM configuration like this:
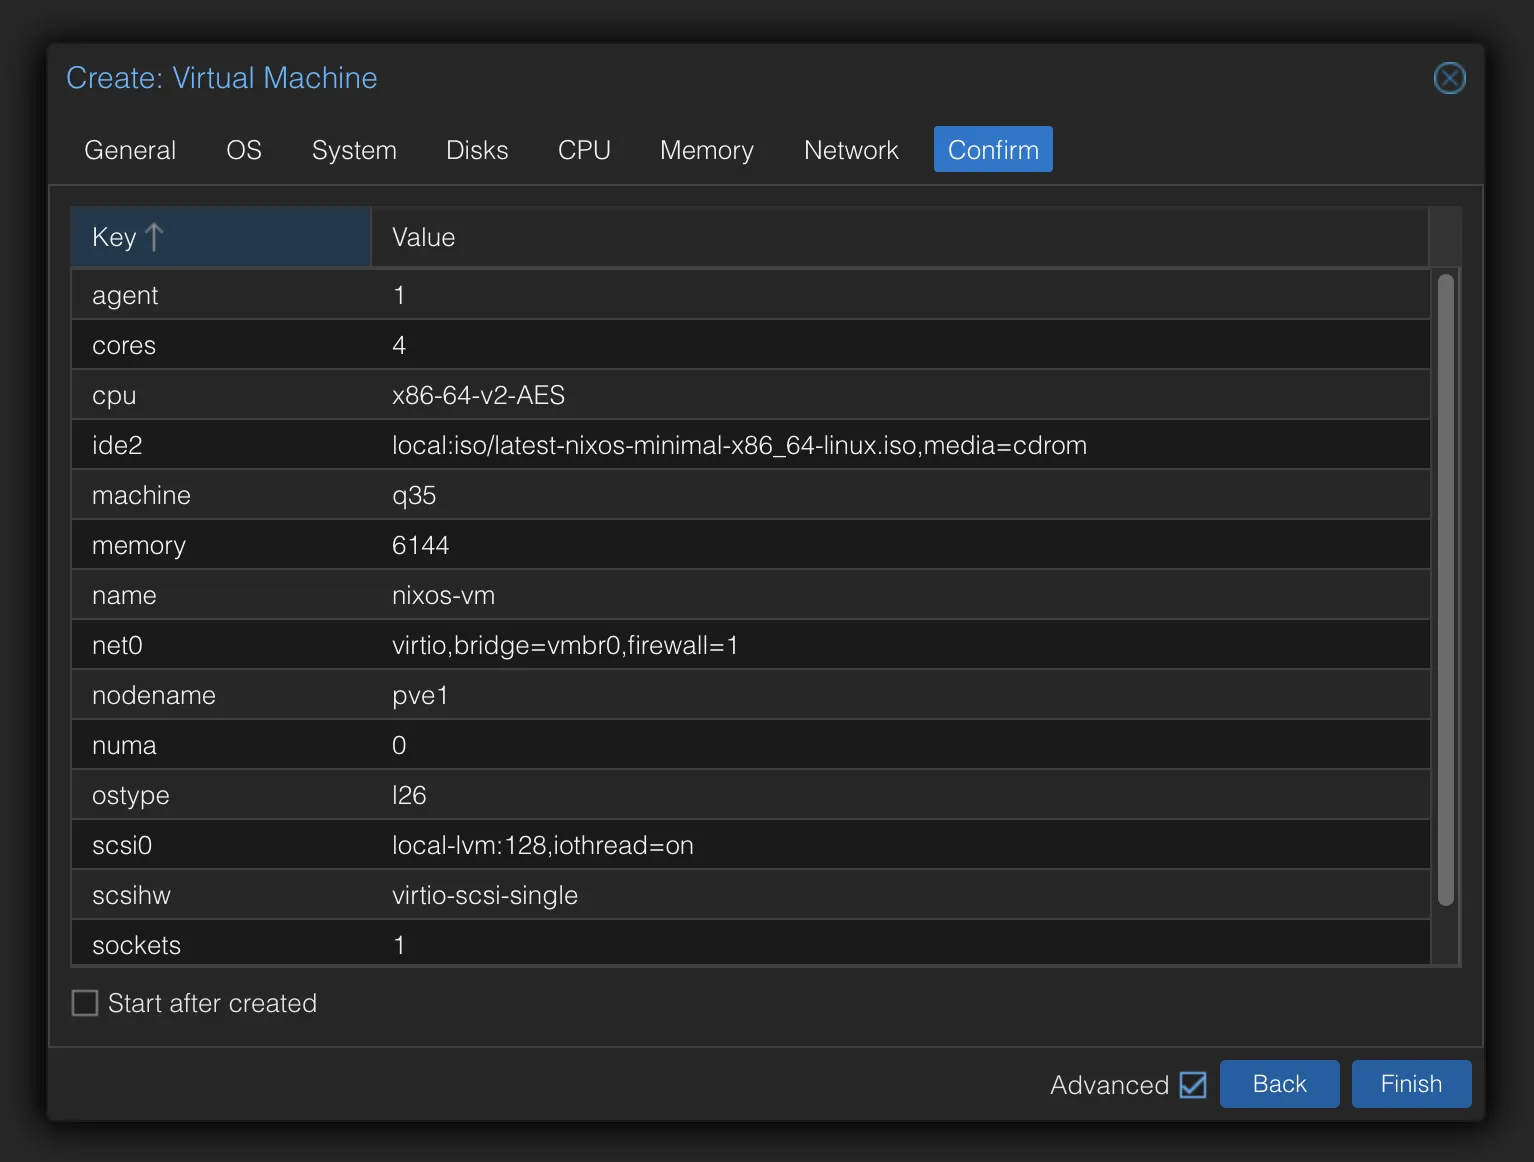
-
Click on Finish to create the VM.
Write configuration files
Section titled “Write configuration files”Now that we have the Proxmox user, role, and token set up, and a basic NixOS VM created, we can write the OpenTofu configuration files.
-
Create a directory for your OpenTofu configuration files, e.g.,
opentofu, and create the following files:Directoryopentofu
- imports.tf // File to import existing Proxmox VM
- opentofu.auto.tfvars // File containing secrets
- providers.tf // File to configure the Proxmox provider
- variables.tf // File to define OpenTofu variables
-
To interact with Proxmox using OpenTofu, you need to set up the Proxmox provider. Update the file named
providers.tfwith the following content:providers.tf terraform {required_providers {proxmox = {source = "Telmate/proxmox"version = "3.0.2-rc03"}}}provider "proxmox" {# Configuration options}Run the following command to download the Proxmox provider:
Terminal window tofu initExpected output:
Initializing the backend...Initializing provider plugins...- Finding telmate/proxmox versions matching "3.0.1-rc8"...- Installing telmate/proxmox v3.0.1-rc8...- Installed telmate/proxmox v3.0.1-rc8. Signature validation was skipped due to the registry not containing GPG keys for this providerOpenTofu has created a lock file .terraform.lock.hcl to record the providerselections it made above. Include this file in your version control repositoryso that OpenTofu can guarantee to make the same selections by default whenyou run "tofu init" in the future.OpenTofu has been successfully initialized!You may now begin working with OpenTofu. Try running "tofu plan" to seeany changes that are required for your infrastructure. All OpenTofu commandsshould now work.If you ever set or change modules or backend configuration for OpenTofu,rerun this command to reinitialize your working directory. If you forget, othercommands will detect it and remind you to do so if necessary.You should now have a
.terraformdirectory and a.terraform.lock.hclfile in youropentofudirectory. -
Next, create a file named
imports.tfto import the existing NixOS VM into OpenTofu:imports.tf import {to = proxmox_vm_qemu.nixosid = "pve1/qemu/105" // Replace with your Proxmox node and VM ID} -
Create a file named
variables.tfto define the variables used in your OpenTofu configuration:variables.tf variable "pm_api_url" {type = stringdescription = "The Proxmox server URL (https://ip:port/api2/json)"}variable "pm_api_token_id" {type = stringdescription = "The Proxmox API Token ID (user@realm!tokenid)"}variable "pm_api_token_secret" {type = stringsensitive = truedescription = "The Proxmox API Token secret (UUID)"} -
Create a file named
opentofu.auto.tfvarsto store your Proxmox API credentials:opentofu.auto.tfvars pm_api_url = "https://<proxmox-ip>:8006/api2/json"pm_api_token_id = "terraform-prov@pve!tofu" // Replace with your Proxmox API Token IDpm_api_token_secret = "<your-token-secret>" // Replace with your Proxmox API Token secret -
Update the
providers.tffile to use the variables defined invariables.tf:providers.tf terraform {required_providers {proxmox = {source = "Telmate/proxmox"version = "3.0.1-rc8"}}}provider "proxmox" {# Configuration optionspm_api_url = var.pm_api_urlpm_api_token_id = var.pm_api_token_idpm_api_token_secret = var.pm_api_token_secretpm_tls_insecure = true} -
Run the following command to generate the OpenTofu configuration:
Terminal window tofu plan -generate-config-out=nixos.tfIt’s possible that you will get errors related to the VM configuration. You can ignore these errors for now, as we will fix them in the next step.
proxmox_vm_qemu.nixos: Preparing import... [id=pve1/qemu/105]proxmox_vm_qemu.nixos: Refreshing state... [id=pve1/qemu/105]Planning failed. OpenTofu encountered an error while generating this plan.╷│ Warning: Config generation is experimental││ Generating configuration during import is currently experimental, and the generated configuration format may change in future versions.╵╷│ Error: Conflicting configuration arguments││ with proxmox_vm_qemu.nixos,│ on nixos.tf line 78:│ (source code not available)││ "disks.0.ide.0.ide2.0.cdrom.0.iso": conflicts with disks.0.ide.0.ide2.0.cdrom.0.passthrough╵╷│ Error: Conflicting configuration arguments││ with proxmox_vm_qemu.nixos,│ on nixos.tf line 79:│ (source code not available)││ "disks.0.ide.0.ide2.0.cdrom.0.passthrough": conflicts with disks.0.ide.0.ide2.0.cdrom.0.iso╵ -
Open the generated
nixos.tffile and fix the configuration errors. You can remove the conflicting lines or adjust them as needed. For example, you can remove thepassthroughlines block:nixos.tf resource "proxmox_vm_qemu" "nixos" {# Other configurations...disks {ide {# Remove the conflicting linescdrom {iso = "local:iso/nixos-minimal-24.11.718051.9b5ac7ad4529-x86_64-linux.iso"passthrough = false}}}# Other configurations...} -
After fixing the configuration errors, run the following commands to plan again, format the configuration, and apply the changes:
Terminal window tofu planExpected output:
proxmox_vm_qemu.nixos: Preparing import... [id=pve1/qemu/105]proxmox_vm_qemu.nixos: Refreshing state... [id=pve1/qemu/105]OpenTofu used the selected providers to generate the following execution plan. Resource actions are indicated with the following symbols:~ update in-placeOpenTofu will perform the following actions:# proxmox_vm_qemu.nixos will be updated in-place# (imported from "pve1/qemu/105")~ resource "proxmox_vm_qemu" "nixos" {# Resources...}Plan: 1 to import, 0 to add, 1 to change, 0 to destroy.──────────────────────────────────────────────────────────────────────────────────────────────────────────────────────────────────────────────────────────────────────────────────────────────────────────────Note: You didn't use the -out option to save this plan, so OpenTofu can't guarantee to take exactly these actions if you run "tofu apply" now.Now format the configuration file to ensure it follows best practices, is easy to read, and apply the changes:
Terminal window tofu fmttofu apply -auto-approveExpected output:
proxmox_vm_qemu.nixos: Preparing import... [id=pve1/qemu/105]proxmox_vm_qemu.nixos: Refreshing state... [id=pve1/qemu/105]# Other output...Plan: 0 to add, 1 to change, 0 to destroy.proxmox_vm_qemu.nixos: Modifying... [id=pve1/qemu/105]proxmox_vm_qemu.nixos: Modifications complete after 2s [id=pve1/qemu/105]Apply complete! Resources: 0 added, 1 changed, 0 destroyed. -
You can start the NixOS VM using either of the following methods:
- Through the Proxmox web interface: Navigate to your VM and click the “Start” button
- Via command line:
qm start 105
- By adding
onboot = trueto the VM configuration in thenixos.tffile (see below)
resource "proxmox_vm_qemu" "nixos" {# ... other configuration ...onboot = true# ... rest of configuration ...}After adding
onboot = true, runtofu applyto update the VM configuration. The VM will then automatically start whenever the Proxmox host system boots up. -
Your project structure should now look like this:
Directoryopentofu
Directory.terraform/
- …
- .terraform.lock.hcl
- imports.tf
- nixos.tf
- opentofu.auto.tfvars
- providers.tf
- terraform.tfstate
- terraform.tfstate.backup
- variables.tf
You have now successfully set up OpenTofu to manage a NixOS VM on Proxmox. You can now use OpenTofu to automate the management of your Proxmox resources, making it easier to deploy and maintain your NixOS VMs.